blog添加algolia搜索
发表于|更新于
|浏览量:|
安装
插件地址在:https://github.com/LouisBarranqueiro/hexo-algoliasearch
1
| npm install hexo-algoliasearch --save
|
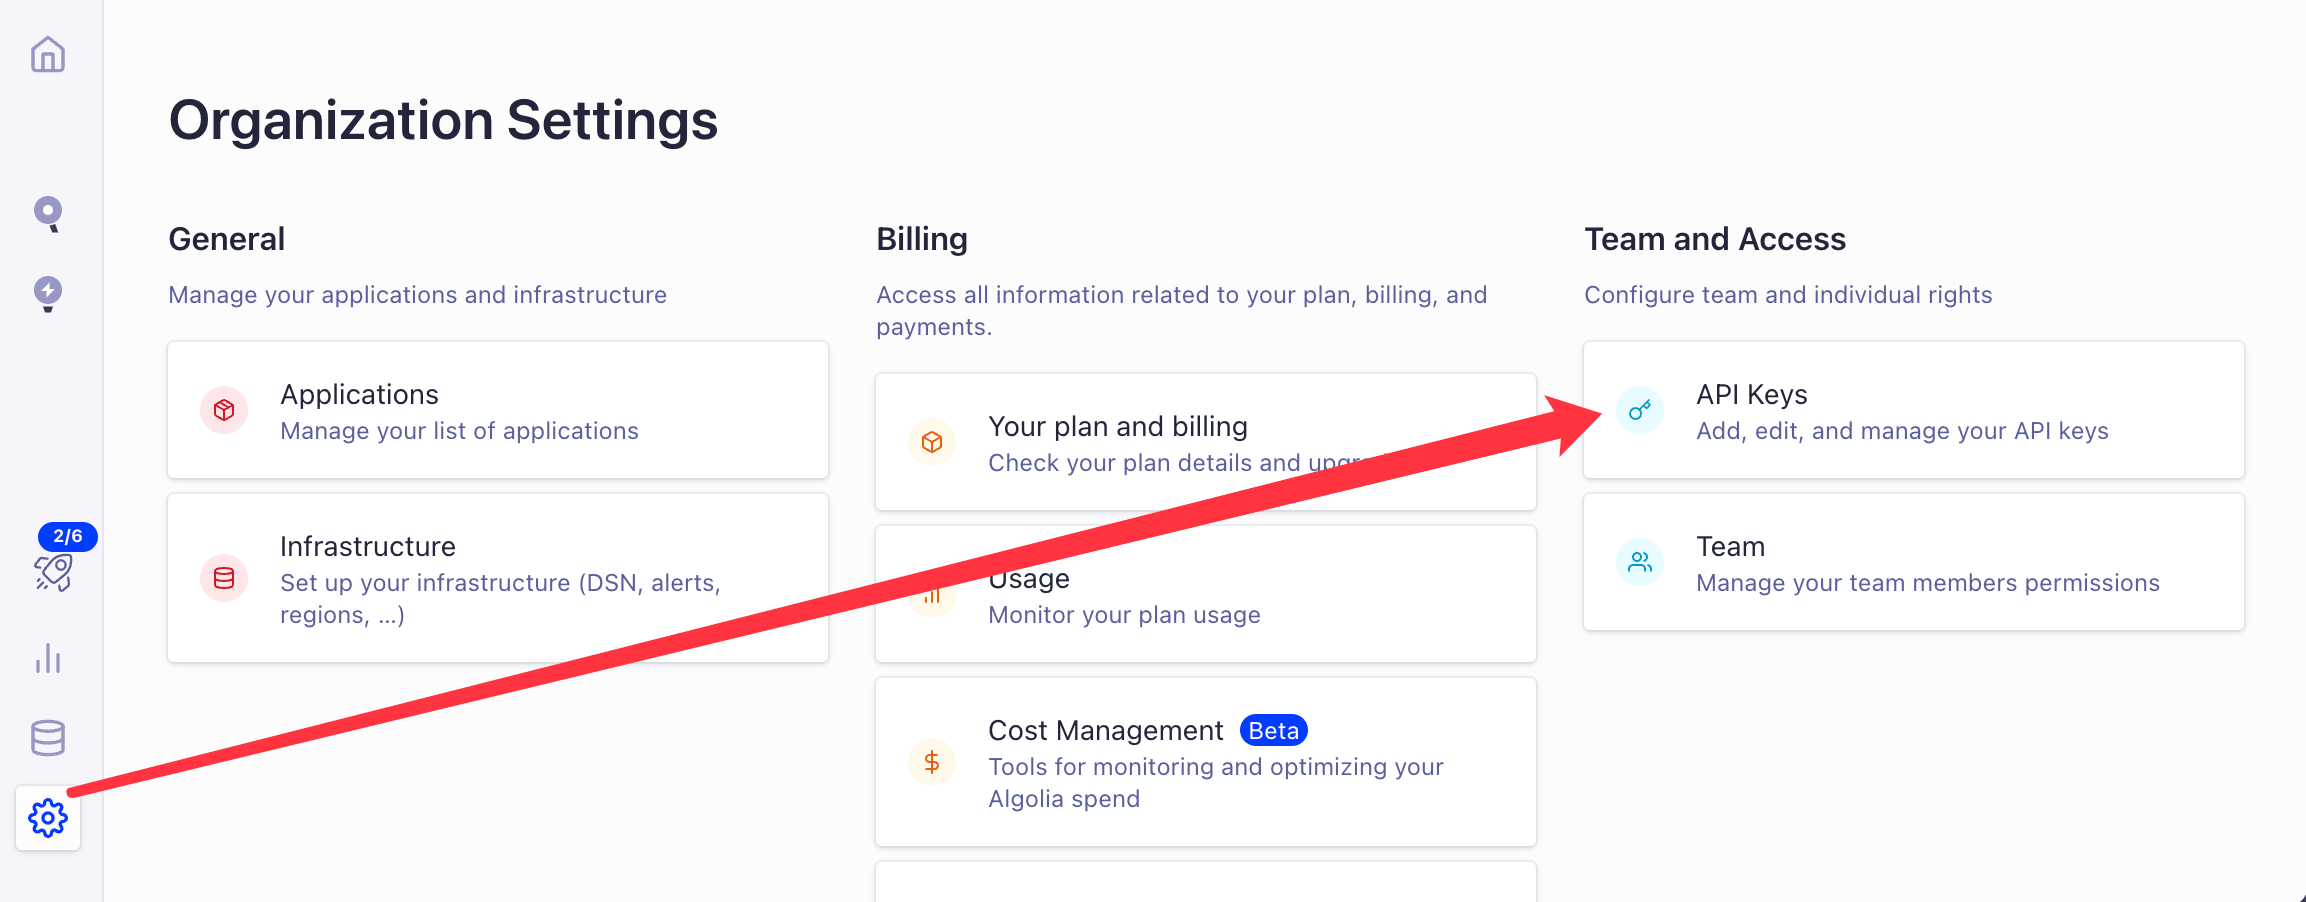
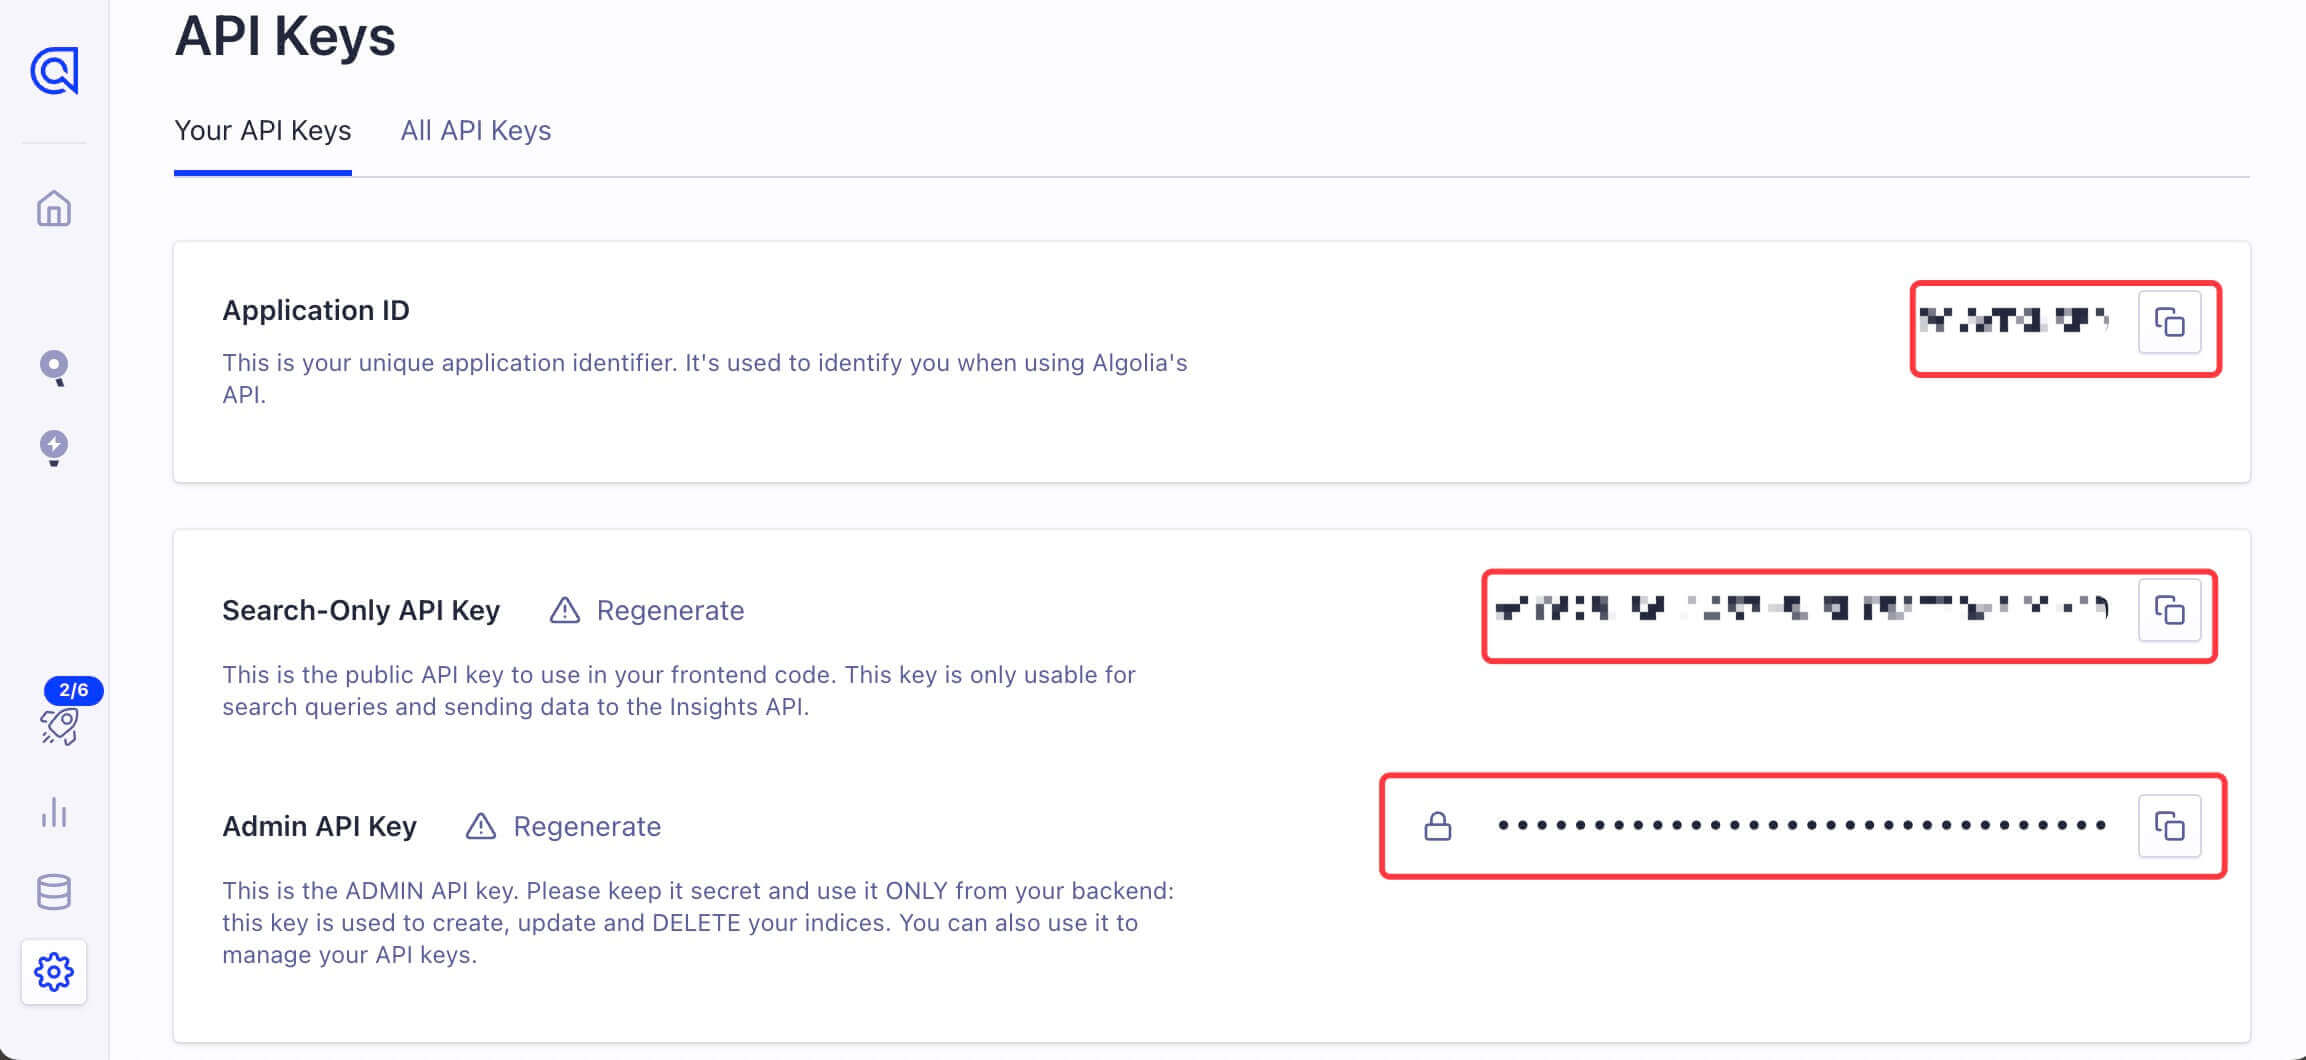
注册 Algolia 并获取配置
https://www.algolia.com/

配置
修改博客根目录的配置文件 _config.yml
1
2
3
4
5
6
7
8
9
10
11
12
13
14
15
| algolia:
appId: "Z7A3XW4R2I"
apiKey: "12db1ad54372045549ef465881c17e743"
adminApiKey: "40321c7c207e7f73b63a19aa24c4761b"
chunkSize: 5000
indexName: "my-hexo-blog"
fields:
- content:strip:truncate,0,500
- excerpt:strip
- gallery
- permalink
- photos
- slug
- tags
- title
|
修改主题目录下的配置文件 themes/butterfly/_config.yml
1
2
3
4
5
6
7
8
| algolia_search:
enable: true
hits:
per_page: 10
labels:
input_placeholder: Search for Posts
hits_empty: "我们没有找到任何搜索结果: ${query}"
hits_stats: "找到${hits}条结果(用时${time} ms)"
|
命令
其他命令照常就可以
注意事项
虽然有很多博客已经写过如何添加这个插件,如何使用,但是我在实际过程中还是遇到了很多奇怪的问题